
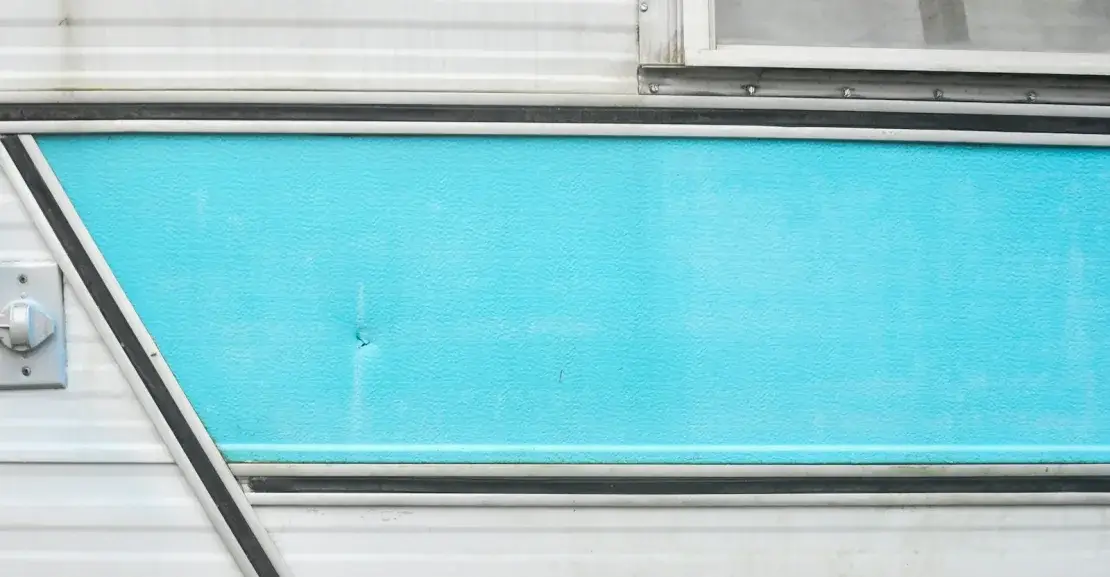
To repair RV fiberglass exterior damage, first tell whether the problem is skin-deep or if the wall behind it has failed. Small scratches, chips, and isolated cracks can be fixed by grinding the surface, applying resin, and adding fiberglass mat. Soft areas, bubbles, or shifts in the body mean moisture is inside the panel and the repair is structural.
The work splits into diagnosis, material choice, surface prep, patching, and finishing. If the damage shows up while you are traveling, you can tape it to shed water without trapping moisture. The rest of this guide walks through each step so you can decide what you can do yourself and what needs a repair shop in St. Cloud.
Diagnose the Damage: Cosmetic vs. Structural
A fiberglass RV exterior is a thin skin over wood, foam, or aluminum framing. Damage that looks minor from outside can hide rot. Owners who seal a soft wall with caulk only lock moisture in and speed up failure.
Perform a push test
Press on the fiberglass around the damaged spot with your thumb or a flat stick. A solid wall feels hard and springs back. A soft spot means the backing has absorbed water and the glue has let go. Mark any area that gives under light pressure, even if the gelcoat looks intact.
Identify stress cracks versus impact damage
Hairline cracks that follow a curve or meet at a corner often come from frame movement. A sharp star or hole comes from a rock or collision. Stress cracks warn of a twist in the chassis or a weak mount. Impact damage is local and less likely to signal hidden rot.
Check for moisture behind the FRP layer
FRP is the fiberglass reinforced panel you see on the side. Lift a corner of any loose trim near the spot. Use a moisture meter if you have one; these read through the skin. Dark stains, swelling, or a musty smell behind the panel confirm water intrusion.
Why repairing over rot leads to wall failure
If you fill a soft wall with resin, the patch sits on a crumbling base. The wall keeps flexing, the new material cracks, and the rot spreads. The RV loses structural strength. A failing wall can separate while driving or let water reach electrical lines.
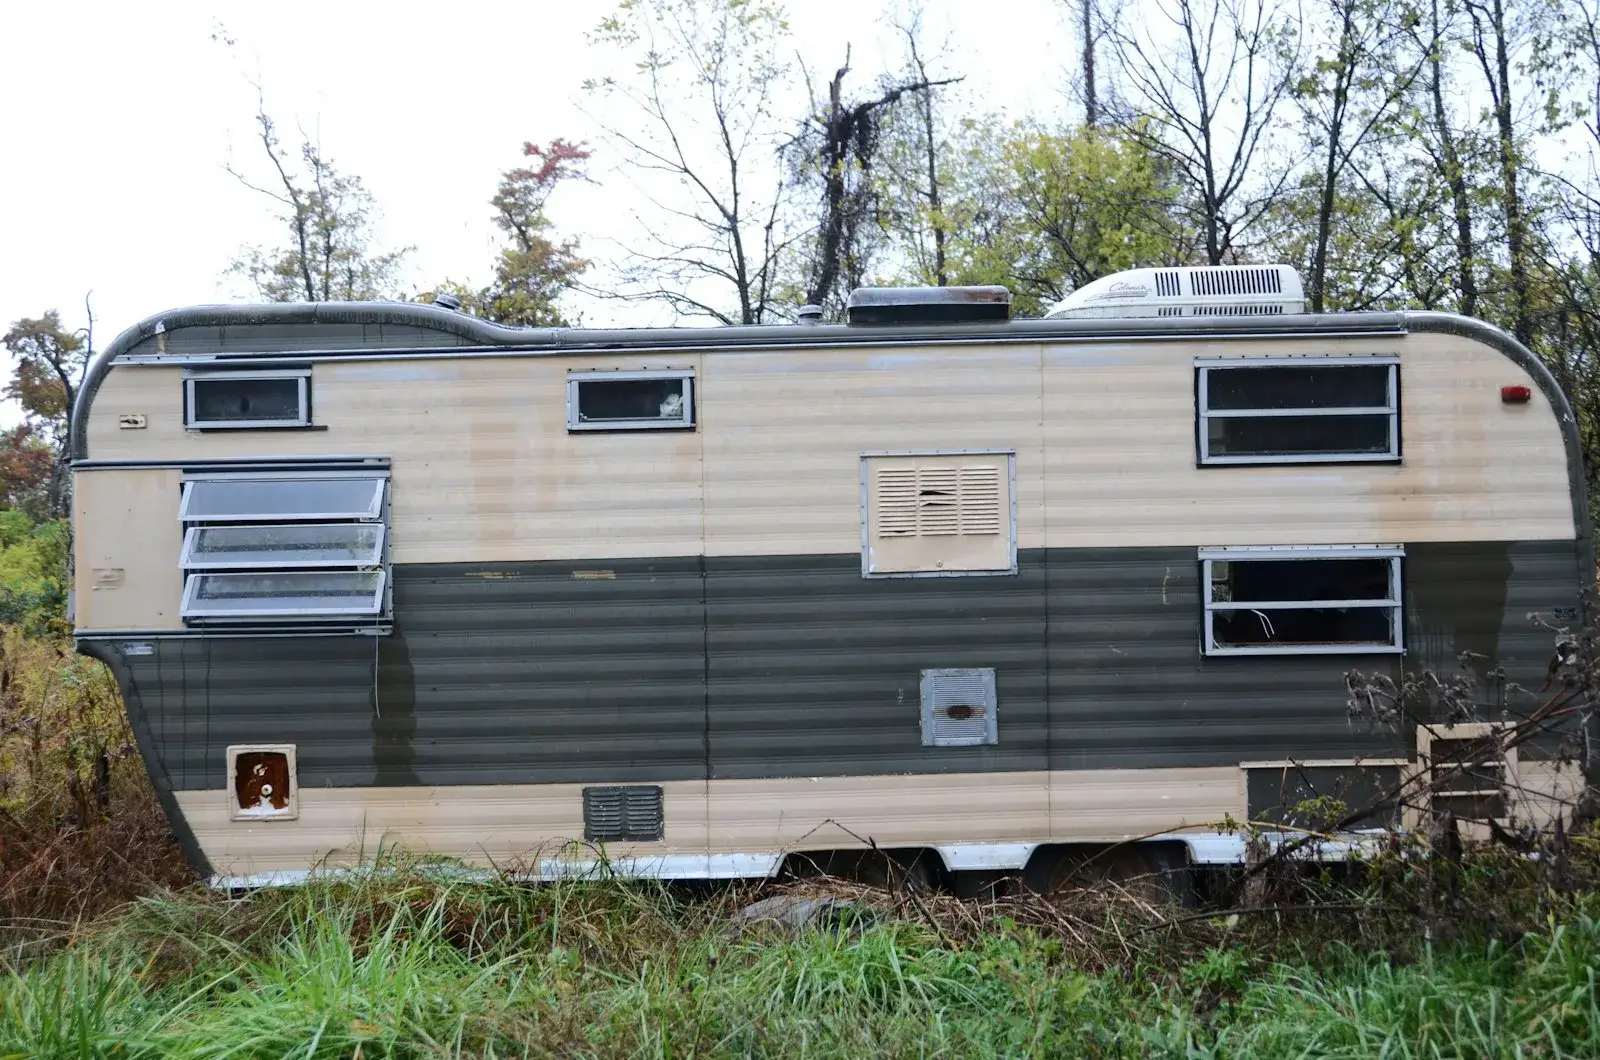
DIY vs. Professional Repair: Cost and Complexity
Decide early if you will do the work or hire a shop. The answer depends on damage size, location, and your skill with hand tools.
Price ranges
DIY materials for a small fix run $25–$100. This covers resin, mat, sandpaper, dewaxing solvent, and gelcoat. Professional shop rates for fiberglass repair in a facility run $400–$1,500 and up, depending on labor time and whether a panel must be replaced.
Decision factors
- Size of the damage: A scratch under six inches is manageable. A hole bigger than a dinner plate is not.
- Location: Flat side walls are easier than curved corners or roof edges.
- Access to the backside: If you can reach the inside of the panel, clamping and drying are easier.
When DIY is false economy
Structural repairs, large delamination areas, or full-panel replacements need tools and know-how a shop has. Spending $50 on resin for a wall that needs $1,000 of framing work wastes the money. A poor patch also forces the shop to remove your work before starting.
Risks of improper repair
A bad patch lowers resale value because buyers see blotches or soft spots. It can also cause warranty issues if the unit is still covered by a manufacturer or extended plan. More importantly, it can let water keep destroying the frame while you think the problem is solved.
Material Selection: Why New Fiberglass Won’t Stick to Old Without Prep
New resin does not bond to a shiny old surface. You must create a profile and remove contaminants or the patch falls off in months.
The mechanical tooth
Grind the area with 36- to 80-grit paper until the surface is dull and rough. This “mechanical tooth” gives the resin something to hold. A smooth gloss will shed the patch like ice.
Removing mold release wax
Fiberglass leaves the mold with release wax. That wax stays on the surface for years. Use a solvent made for dewaxing, or the resin slides off. Skip this step and the repair looks fine for a week, then lifts.
Resin types
Polyester resin is common for cosmetic skins and is cheap. Epoxy bonds better and resists water, but costs more. Use epoxy for structural or wet areas. Do not mix the two in one layer; they cure differently.
Silicone is a temporary plug
A blob of silicone may stop a drip for a day. It is a temporary plug, not a structural filler. It also contaminates the area; new resin will not stick where silicone has been, and removing it fully is hard.
Step-by-Step Repair for Cracks, Gouges, and Holes
Follow a set order so the patch cures right and matches the body.
Surface preparation
Clean with soap and water, then dewax. Grind a wide ring around the damage to expose fresh glass. Tape off the good gelcoat with painter’s tape to keep stray resin off. Wipe dust with a tack cloth.
Mixing resin and catalyst
Read the label for ratio. Typical polyester uses 1–2% catalyst by weight. Too little stays soft; too much cracks from heat. Mix small batches to avoid heat buildup. Work in shade so the pot does not cure in the cup.
Applying fiberglass mat
For a gouge, lay one layer of mat soaked in resin, press out bubbles with a brush. For a hole, build 2–3 layers, each smaller than the last, to taper the edge. Let each layer tack before the next. Use a roller to bed the mat flat.
Sanding and shaping
After cure, sand with 120 then 220 grit. Match the contour of the RV body lines. Feather the edge into the old gelcoat so the seam disappears. Vacuum often; dust hides low spots.
Repairing Delamination (Bubbling Siding)
Delamination is the fiberglass separating from the backing. It needs a different method than a hole.
Drill relief holes
At the low edge of the bubble, drill small holes to let trapped water out. Let the panel dry for days if needed. A moisture meter should read dry before you proceed.
Inject adhesive behind the skin
Use a marine-grade adhesive or epoxy. Inject behind the skin through the holes until the void fills. Move the nozzle along the bubble to push out air.
Clamp or vacuum the surface
Pull the skin back to the frame with clamps or a vacuum bag. Maintain pressure until the glue cures. Uneven pressure leaves new voids.
Seal the injection points
After cure, fill the drill holes with resin and touch up gelcoat. Sand smooth. Check the bond by tapping; a solid sound means it re-attached.
Color Matching and Finishing the Repair
A visible patch hurts resale. Match the color before you buff.
Find OEM gelcoat codes
Check the manufacturer sticker inside a cabinet or on the frame. The code tells the original mix. Write it down for reorder.
Use a color matching service
For older models, a spectrophotometer at a paint store can read the faded color. Some RV supply shops offer this. Bring a small loose chip if you have one.
Feather the edges
Spray or brush gelcoat, then sand the boundary so new and old blend. Use 400 then 800 grit. The goal is no line between old and new.
Decal replacement
Remove old striping with a heat gun and plastic scraper. Apply new decals after the surface cures fully. Press from the center out to avoid bubbles.
Polish and buff
Use a dual-action polisher with compound, then wax. The repair should match the gloss of the rest. Hand rubbing takes longer but works for small spots.
Temporary Containment: How to Stop the Leak Before the Fix
If damage happens on the road, protect it without sealing in moisture.
Choose the right tape
Use painter’s tape or RV-specific tape that leaves no residue. Avoid duct tape on gelcoat; it pulls the shine off.
Use butyl tape or non-acid sealants
A bead of butyl tape over the crack makes a short-term waterproof barrier. Non-acid sealants will not eat the fiberglass. Do not use household acrylic that stays wet.
Avoid trapped moisture
Tape the bottom open so any water behind can drain. Do not wrap the whole area airtight. Water trapped against the skin breeds rot faster than a small leak.
Tarp versus direct seal
If the damage is large, hang a tarp above the spot with rope. For small holes, a temporary patch of tape and sealant is enough until parts arrive.
Professional RV Repair in St. Cloud, MN
Some damage is beyond a driveway fix. All Campers in St. Cloud, MN handles fiberglass repair, body work, and structural assessment for RVs and campers in the area and surrounding regions. If you find soft spots, frame movement, or large delamination, contact them for a quote or inspection.
FAQ
Can you patch fiberglass on a camper?
Yes. Small cracks and holes can be patched with resin and mat after grinding. Structural failure needs a shop.
Will new fiberglass stick to old fiberglass?
Only if you grind a rough profile and remove mold release wax. Without prep, the new layer peels.
How to repair fiberglass camper siding?
Diagnose first. For surface damage, grind, dewax, apply resin and mat, sand, and color match. For bubbling siding, drill, inject adhesive, clamp, and seal.
What can I patch fiberglass with?
Polyester or epoxy resin with fiberglass mat. Silicone is temporary only. Use gelcoat for the final color layer.
Walk around your RV this week and press on any discolored panel. If it feels soft, get it assessed before your next trip.